
northwest territory tent instruction manual
Northwest Territory tents, readily available through Kmart and Sears, offer affordable camping solutions for diverse adventurers. These tents cater to various needs,
from backpacking to family camping, providing reliable shelter for outdoor enthusiasts.
Brief History of Northwest Territory & Kmart/Sears Connection
Northwest Territory tents emerged as a house brand primarily associated with Kmart and Sears, becoming a staple for budget-conscious campers. While the exact origins are somewhat obscure, the brand gained prominence through these retail giants, offering accessible outdoor gear to a wide audience.

Kmart (1-866-KMART-4U) and Sears (1-800-549-4505) acted as the primary sales channels, while several tent manufacturers handled the actual production and servicing of these tents. This arrangement allowed for cost-effective pricing, making camping more attainable for families and individuals. Northwest Bank, though sharing a name, has no direct connection to the tent brand; it’s a financial institution operating in multiple states.
The brand’s longevity speaks to its consistent value proposition within the camping market.
Target Audience & Tent Types (Dome, A-Frame, Backpacking)
Northwest Territory tents primarily target recreational campers seeking affordable and reliable shelter. The brand appeals to families, beginners, and those needing occasional camping gear without a significant investment. Their tents cater to diverse camping styles, offering options like dome tents, traditional A-frame designs, and lightweight backpacking models.
Dome tents, such as the Model 800-521WX, are popular for their ease of setup and stability. A-frame tents (Model 800-51JWK) provide a classic camping experience, while backpacking tents prioritize lightweight portability for extended trips. These tents typically sleep between two to three adults, offering versatile options for various group sizes.
The range ensures a suitable choice for different camping adventures.
Understanding Your Northwest Territory Tent ─ Key Components
Northwest Territory tents consist of a tent body, rainfly for weather protection, poles for structure, stakes for securing, and guy lines for added stability during windy conditions.
Tent Body & Rainfly Identification
Identifying the tent body is straightforward; it’s the primary fabric shelter, often featuring mesh panels for ventilation and doorways with zipper closures. Look for sewn-in loops or sleeves designed to accommodate the tent poles. The rainfly, a separate waterproof covering, drapes over the tent body to provide protection from rain and enhance weather resistance;
The rainfly typically features its own set of attachment points – buckles, clips, or Velcro straps – to secure it to the tent body and poles. Ensure the rainfly completely covers the tent body, extending down the sides to prevent water from entering. Proper identification of these components is crucial for correct setup and optimal performance during your camping trip, ensuring a dry and comfortable experience.
Poles: Types, Sections & Connectors
Northwest Territory tents utilize fiberglass or aluminum poles for structural support. These poles are often sectional, meaning they’re divided into smaller segments connected by shock cords – elastic cords running inside the pole sections. This design allows for compact storage and easier handling.
Connectors, typically plastic or metal pieces, join the pole sections together and attach them to the tent body. Common connector types include push-button connectors and pin-and-ring systems. Understanding how these connectors work is vital for proper assembly. Carefully inspect each pole section and connector for damage before setup. Ensure all sections are securely connected and the shock cord is intact to maintain tent stability and prevent breakage during use.
Stakes & Guy Lines – Purpose & Usage
Stakes are essential for securing your Northwest Territory tent to the ground, preventing it from being blown away by wind. They are typically made of metal or plastic and should be driven into the ground at a 45-degree angle, pointing away from the tent.
Guy lines, cords attached to the tent body, provide additional stability, especially in windy conditions. They are connected to stakes, pulling the tent taut and reinforcing its structure. Properly tensioning guy lines is crucial; they should be snug but not overly tight. Use all provided stakes and guy lines for maximum security, and consider using heavier-duty stakes in challenging terrain.

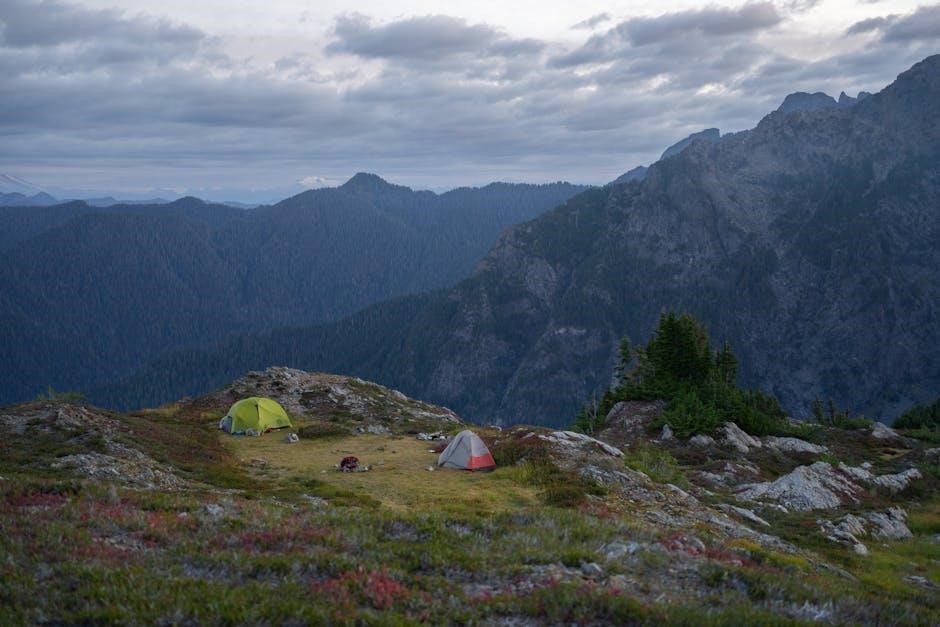
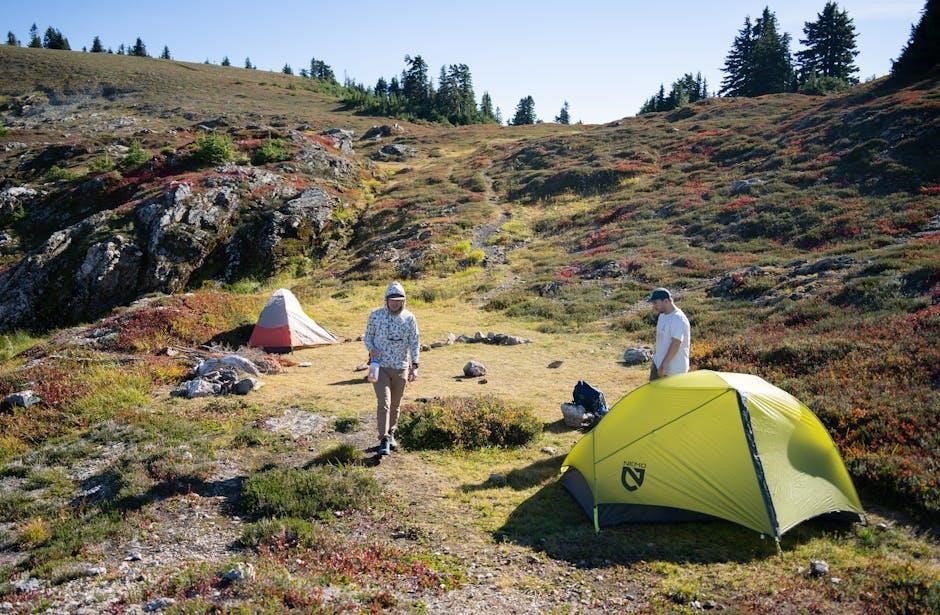
Setting Up Your Dome Tent (Model 800-521WX Focus)
Model 800-521WX dome tents are popular for their ease of setup and portability, offering a quick and reliable shelter for camping adventures.
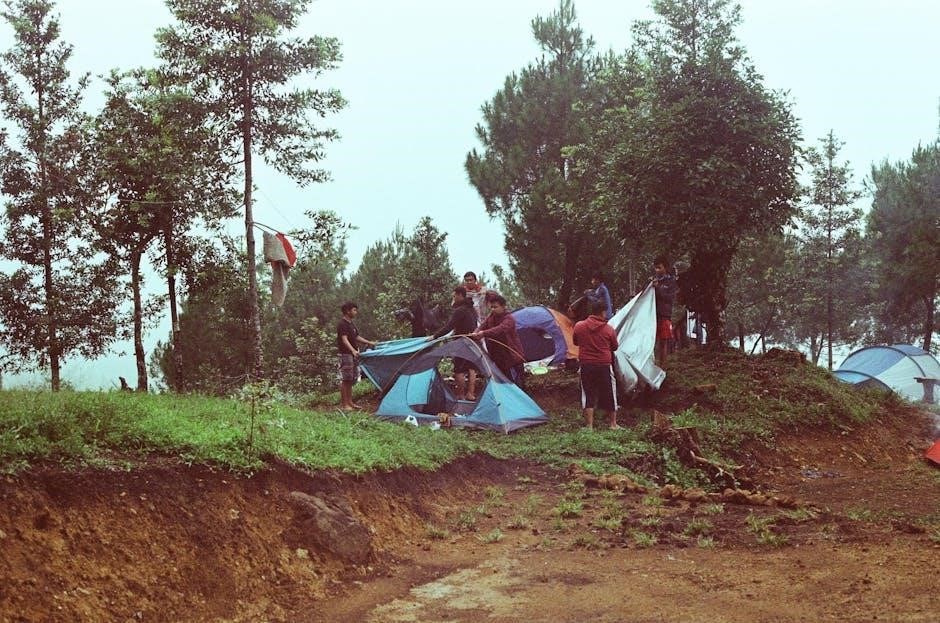
Step 1: Laying Out the Tent Footprint
Begin by selecting a level campsite, clear of rocks, twigs, and any sharp objects that could damage the tent floor. Unpack the tent and spread out the footprint – if included – or the tent body itself, ensuring it lies flat. The footprint should ideally be slightly smaller than the tent floor to prevent water from collecting underneath. Orient the tent door in the desired direction, considering wind patterns and views. Stake down the corners of the footprint or tent body using the provided stakes, creating a secure base. Ensure the fabric is taut but not overly stretched, as this can strain the seams. Proper footprint placement is crucial for protecting your tent and ensuring a comfortable camping experience. Double-check for any remaining debris before proceeding to the next step;
Step 2: Assembling & Inserting the Poles
Unpack the tent poles and lay them out, identifying each section based on length and connector type. Assemble the poles by connecting the sections, ensuring a snug fit. Most Northwest Territory dome tents utilize shock-corded poles, making assembly straightforward. Carefully thread the assembled poles through the designated sleeves or clips on the tent body. Start with the poles that create the main dome structure, then add any additional support poles. Gently flex the poles as you insert them, avoiding excessive force. Once the poles are in place, secure the ends into the grommets or pin-and-ring system at the tent corners. Verify that the poles are securely seated before moving on.
Step 3: Attaching the Rainfly & Securing with Guy Lines
Drape the rainfly over the tent, aligning it with the door and vents. Secure the rainfly to the tent using buckles, clips, or Velcro straps, ensuring a snug fit. Pay attention to the orientation of the rainfly – it’s designed to shed water effectively in a specific direction. Next, locate the guy line attachment points on the rainfly and tent. Stake down the guy lines at a 45-degree angle away from the tent, pulling them taut to provide stability and maximize rain protection. Adjust the tension on the guy lines as needed. Properly staked guy lines are crucial for withstanding wind and preventing leaks; Inspect all connections for security.
Setting Up Your A-Frame Tent (Model 800-51JWK Focus)
Model 800-51JWK requires a level site. Lay out the tent body, then insert the poles to create the classic A-frame shape for reliable shelter.
Step 1: Preparing the Tent Site & Laying Out the Tent
Before erecting your Northwest Territory A-Frame tent (Model 800-51JWK), careful site preparation is crucial. Begin by selecting a level area, free from rocks, twigs, and other debris that could damage the tent floor or create discomfort. Clear the chosen spot thoroughly, ensuring a smooth surface for optimal sleeping conditions;
Next, spread out the tent body. Orient the door in your desired direction, considering prevailing winds and views. Ensure the footprint is fully extended and lies flat on the ground. This initial step establishes a solid foundation for the entire setup process, contributing to a stable and enjoyable camping experience. A well-prepared site minimizes potential issues later on.
Step 2: Erecting the A-Frame Structure with Poles
With the tent body laid out, begin assembling the poles for your Northwest Territory A-Frame tent (Model 800-51JWK). Typically, these poles consist of multiple sections connected by shock cords. Carefully join the sections together to form complete pole units.
Insert the pole ends into the corresponding grommets or pin-and-ring system located at the corners of the tent. Gently arch the poles to create the A-frame shape, ensuring they are securely seated in the tent’s structure. Apply even pressure to avoid bending or breaking the poles. Once both poles are in place, the tent will begin to take its recognizable form, providing a stable framework.
Step 3: Securing the Rainfly & Stakes
Drape the rainfly over the erected A-Frame tent, ensuring it aligns correctly with the tent’s doors and vents. Secure the rainfly to the tent using the provided buckles or clips, attaching it to the pole structure or designated points on the tent body.
Next, use the stakes to anchor the tent firmly to the ground. Insert stakes through the loops or webbing at the base of the tent and at an angle, driving them securely into the soil. Utilize guy lines attached to the rainfly to provide additional stability, especially in windy conditions. Adjust the tension on the guy lines to create a taut and weatherproof shelter.
Maintenance & Care for Longevity
Proper tent care extends its lifespan; always clean after use, store completely dry and ventilated, and promptly repair any minor damages to fabric or poles.
Cleaning Your Tent After Each Use
Thorough cleaning after every camping trip is crucial for maintaining your Northwest Territory tent’s condition and extending its life. Begin by completely emptying the tent of all gear and occupants. Turn the tent inside out to access the floor and allow for better cleaning. Gently brush away loose dirt, leaves, and debris from both the interior and exterior surfaces using a soft-bristled brush or a damp cloth.

For more stubborn stains, use a mild soap solution – specifically designed for tents or a very diluted dish soap – and a soft sponge. Avoid harsh detergents or abrasive cleaners, as these can damage the tent’s fabric and waterproof coating. Rinse thoroughly with clean water to remove all soap residue.
Crucially, ensure the tent is completely dry before storing it. Allow it to air dry in a shaded area, avoiding direct sunlight which can fade the fabric and degrade its waterproofing. Never pack a damp tent, as this will lead to mildew and mold growth, significantly shortening its lifespan.
Proper Storage Techniques (Dry & Ventilated)

Long-term storage of your Northwest Territory tent requires careful attention to ensure it remains in optimal condition. Before storing, confirm the tent is completely dry – a critical step to prevent mildew and mold. Loosely roll or fold the tent, avoiding sharp creases that could weaken the fabric or damage the waterproof coating. Never use excessive force during folding.
Store the tent in a large, breathable storage bag, preferably the one it came with. Avoid compressing the tent tightly for extended periods. Choose a cool, dry, and well-ventilated location for storage, such as a garage, basement, or closet.
Importantly, avoid storing the tent in direct sunlight or areas with extreme temperature fluctuations. Regularly check the storage area for signs of moisture or pests. Proper storage significantly extends the life and performance of your tent, ensuring it’s ready for your next adventure.
Repairing Minor Damage (Poles, Fabric, Zippers)
Small tears in the tent fabric can often be repaired with a tent repair patch kit, readily available at outdoor retailers. Clean the area around the tear, apply the patch according to the kit’s instructions, and ensure a strong bond. For broken tent poles, a splint and duct tape can provide a temporary field fix; consider a replacement section for a more permanent solution.
Stuck or damaged zippers often respond to cleaning with a zipper lubricant or a graphite pencil. Gently work the lubricant into the zipper teeth. Avoid forcing a stuck zipper, as this can cause further damage. If a zipper pull is broken, a paperclip or key ring can serve as a temporary replacement.
Regularly inspect your tent for minor damage and address it promptly to prevent it from escalating into larger, more costly repairs. A little maintenance goes a long way!
Troubleshooting Common Issues
Addressing leaks, condensation, and broken poles are typical camping challenges. Lost stakes or damaged guy lines can also occur, requiring quick solutions for a comfortable experience.
Dealing with Leaks & Condensation
Addressing leaks often involves ensuring the rainfly is correctly installed and extends beyond the tent body on all sides, creating an effective water barrier. Check seams for any damage or wear, and consider seam sealing for enhanced protection. Condensation builds up due to breath and moisture inside the tent; proper ventilation is key.
Open vents and windows to promote airflow, even during light rain. Avoid touching the tent walls, as this transfers moisture. A footprint underneath the tent helps minimize ground moisture. If leaks persist, inspect the tent fabric for punctures or tears. For condensation, wiping down the interior with a cloth can offer temporary relief, but ventilation remains the most effective long-term solution for a drier camping experience.
Broken Poles – Field Repairs & Replacements

Field repairs for broken poles often involve using a splint and duct tape to temporarily stabilize the damaged section, allowing you to finish your trip. A pole repair sleeve, if available in your kit, provides a more secure fix. Carefully align the broken ends and insert the sleeve, securing it tightly.
Replacements are best sourced directly through Kmart or Sears, as they handle Northwest Territory tent servicing. Note the pole diameter and length when ordering. If a direct replacement isn’t possible, a universal tent pole section might work, but ensure compatibility. Always prioritize safety; a compromised pole can lead to tent collapse, so a proper repair or replacement is crucial for continued use.
Lost or Damaged Stakes & Guy Lines
Lost stakes are a common camping issue; always pack extra! Standard metal or plastic tent stakes can be readily purchased at most outdoor retailers. In a pinch, sturdy sticks or rocks can serve as temporary anchors, but ensure they’re securely placed. Damaged guy lines, often fraying or snapping, should be replaced immediately to maintain tent stability.
Replacement guy lines, typically nylon cord, are inexpensive and easy to install. Tie secure knots – a taut-line hitch is recommended – to adjust tension. Regularly inspect your stakes and lines before and during your trip. Having spares prevents minor inconveniences from becoming major problems, ensuring a safe and secure camping experience with your Northwest Territory tent.